Prerequisites
Logpoint v7.8.0 and Director v2.9.0
To install MysqlRDS in Director Console:
Log in to Director Console.
Click ASSETS in the navigation bar.
Select Plugin from the Assets Type drop-down.
Upload the MysqlRDS .pak file. Select Replace Existing? to replace the old file with new one.
Click UPLOAD. Once uploaded, the .pak file is displayed in the list of available packages.
Select the MysqlRDS .pak file from the list.
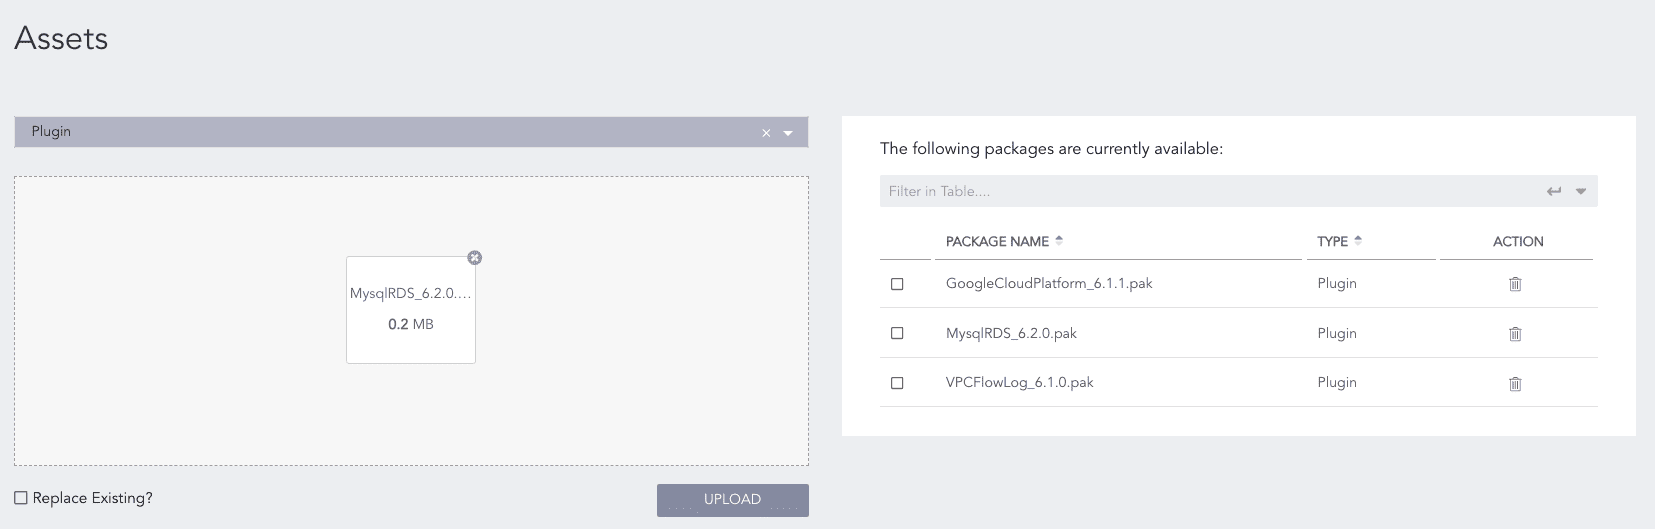
MysqlRDS .pak file upload
Click INSTALL.
Select the pool and Logpoint to install MysqlRDS. You can select multiple Logpoint from different pools.
Click NEXT.
Review your changes. You can go BACK to make changes.
Click INSTALL and click OK to confirm.
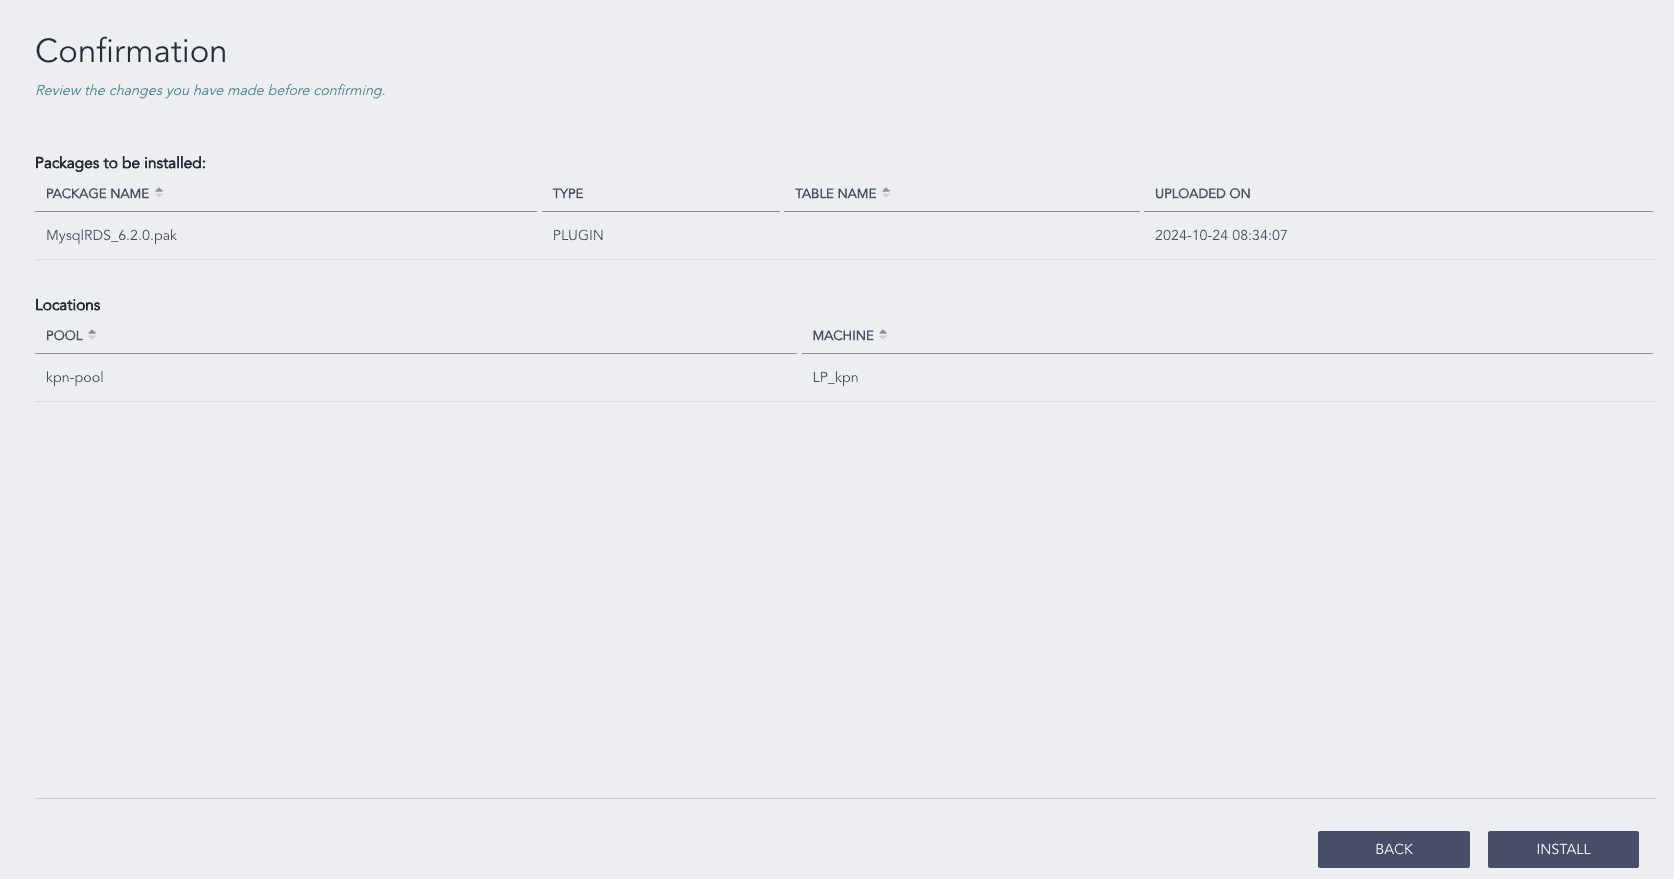
MysqlRDS Installation
You are redirected to Tasks, which displays the installation progress.
You must first remove MysqlRDS configurations from Logpoint and then uninstall it.
To remove MysqlRDS configurations:
Click Configure in the navigation bar.
Under Entities, click LOG SOURCES.
Click the more ( ) icon next to the MysqlRDS log source and click Delete Log Source.
Click Delete.
To uninstall MysqlRDS:
Click Assets in the navigation bar.
Click UNINSTALL.
Select the Logpoint where MysqlRDS is installed. You can select multiple Logpoint of different pools.
Select MysqlRDS from the list of available packages.
Click NEXT.
Review your changes. You can go BACK to make changes.
Click UNINSTALL and click OK to confirm.
You are redirected to Tasks, which displays the uninstall progress.